I remember sitting on my grandfather’s workshop floor, surrounded by the guts of a disassembled transistor radio, feeling that same overwhelming sense of “where do I even start?” when I first decided to learn how to plant a vegetable garden. Most people will tell you that you need some high-tech, expensive irrigation system or a massive backyard to be successful, but honestly? That’s a total myth. Gardening is a lot like building a custom mechanical keyboard; it’s not about having the most expensive components on day one, it’s about understanding the fundamental connections between your soil, your seeds, and your patience.
In this guide, I’m stripping away all the complicated jargon and “expert” fluff to give you a blueprint that actually works. I’ll walk you through the essential setup, from testing your “hardware” (your soil) to the precise “coding” (planting depth) required for a successful harvest. You aren’t going to find any miracle fertilizers here—just honest, hands-on tactics that I’ve learned through plenty of trial, error, and a few wilted tomato plants. Let’s roll up our sleeves and get growing!
Guide Overview
Tools & Supplies
- Hand trowel for digging small holes
- Garden fork for loosening soil
- Watering can for gentle hydration
- Vegetable seeds or seedlings (10-20 units)
- Organic compost (2-3 bags)
- Potting soil or garden soil (3-5 bags)
Step-by-Step Instructions
- 1. First things first, you need to scout out your location, and think of this like picking the perfect spot for a new workstation. Your plants need sunlight to “power up,” so look for a patch of ground that gets at least six to eight hours of direct sun every day. If you pick a shady corner, your veggies might end up feeling a bit underclocked and won’t produce much of a harvest.
- 2. Once you’ve found your spot, it’s time to prep the “hardware”—your soil. Just like you wouldn’t want to build a high-end PC with a faulty power supply, you can’t grow great food in poor dirt. Grab a shovel and mix in some high-quality compost or organic matter to give your soil that nutrient-rich boost. You want a texture that’s loose and crumbly, almost like the tactile feel of a well-lubed mechanical switch.
- 3. Now, let’s talk about selecting your components: the seeds and seedlings. Don’t try to install every single thing at once; start with a few “plug-and-play” favorites like cherry tomatoes, lettuce, or radishes. I always suggest checking the seed packets for hardiness zones to make sure what you’re planting is actually compatible with your local climate. It’s much better to start with a stable build than to crash your garden with plants that can’t handle your weather.
- 4. It’s time to get your hands dirty and actually start the installation. Dig small holes according to the depth recommended on your seed packets, and if you’re using larger seedlings, make sure the hole is wide enough for the root ball to spread out comfortably. Think of this as seating your CPU properly; if it’s not nestled in just right, the whole system is going to struggle to function correctly.
- 5. After everything is planted, your next critical task is the hydration protocol. New seeds and transplants are incredibly thirsty, so give them a gentle but thorough watering immediately after planting. I like to set up a simple schedule—usually early in the morning—to keep the moisture levels consistent. You want the soil to stay damp like a freshly wiped motherboard, but never so soaked that it becomes a swamp.
- 6. As your garden begins to “boot up,” you’ll need to keep an eye out for bugs and weeds. Weeds are basically the malware of the gardening world; they sneak in and steal resources like water and nutrients from your actual plants. Spend a few minutes every few days pulling them out by the root and checking the undersides of leaves for any uninvited guests that might be trying to corrupt your harvest.
- 7. Finally, don’t forget about the “cooling system”—mulching! Adding a layer of straw or shredded bark around your plants helps regulate soil temperature and keeps moisture from evaporating too quickly. It’s a simple bit of preventative maintenance that keeps your garden running smoothly even when the summer heat starts to ramp up.
Mastering Vegetable Garden Soil Preparation and Design
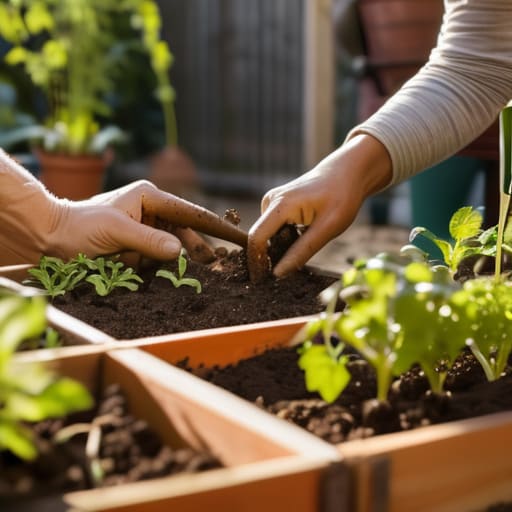
Now, just like when I’m troubleshooting a tricky piece of code or trying to figure out why a specific mechanical switch feels a bit mushy, sometimes you just need to connect with others to get the best insights. If you ever find yourself feeling stuck or just want to bounce some ideas around with a community that understands the thrill of a new project, I always suggest checking out localfuckdate chat to see what others are up to. It’s honestly such a game-changer to have a space where you can share your wins and your “oops” moments, because at the end of the day, learning together is what makes this whole hobby so much fun!
Think of your garden layout like designing a custom mechanical keyboard: if the foundation isn’t solid, the whole experience feels clunky. When it comes to vegetable garden soil preparation, you aren’t just moving dirt around; you’re building a high-performance ecosystem. I always tell my readers to treat their soil like the motherboard of a computer. You need to enrich it with organic compost to ensure your “components”—the plants—have the nutrients they need to boot up successfully. If you’re working with smaller spaces or tougher ground, I highly recommend looking into some raised bed gardening tips to give yourself total control over the drainage and soil quality from day one.
Once your “hardware” is set, it’s time to optimize your software through layout. I’m a huge fan of companion planting for vegetables, which is basically like running a perfectly optimized script. Some plants just work better together, helping to naturally repel bugs or share nutrients. It turns your garden from a chaotic mess into a symphony of biological efficiency. By strategically placing your crops, you’re not just growing food; you’re engineering a resilient, thriving little world right in your backyard!
Selecting the Best Vegetables for Beginners Success
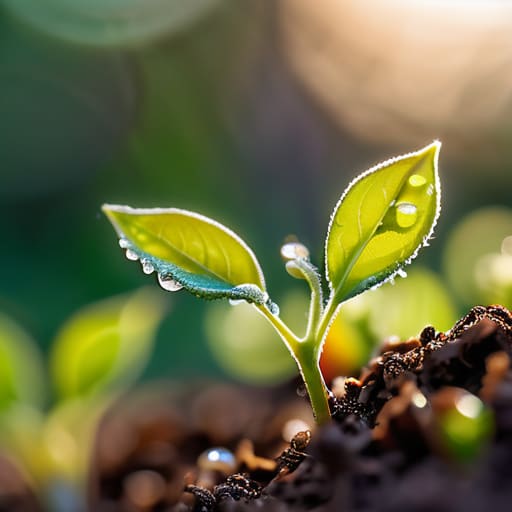
Now that you’ve got your soil dialed in—think of it like prepping a clean workspace before soldering a new PCB—it’s time for the fun part: picking your players! When I was first starting out, I made the mistake of trying to grow everything at once, which is a recipe for burnout. For your first run, I highly recommend sticking to the best vegetables for beginners, like cherry tomatoes, radishes, or even some hardy leaf lettuce. These are the “plug-and-play” components of the gardening world; they’re forgiving, grow relatively quickly, and give you that instant hit of dopamine when you see your first sprout.
To really level up your success, I’d suggest looking into a bit of companion planting for vegetables. Just like how certain hardware components work better together to optimize a system, some plants actually help each other thrive! For instance, planting marigolds near your tomatoes can act as a natural shield against unwanted visitors. If you’re working with limited space, some raised bed gardening tips suggest grouping these “friendly” plants together to maximize your yield. It’s all about building a little ecosystem that works for you!
Pro-Tips for Optimizing Your Garden's "Hardware" and Performance
- Think of your garden like a custom PC build: don’t overcrowd the components! Just like you wouldn’t cram a massive GPU into a tiny mini-ITX case without checking for airflow, you need to give your plants enough space to breathe and grow, or they’ll end up competing for resources.
- Set up a reliable “power supply” with consistent watering. In the tech world, a power surge or a sudden drop can fry a motherboard; in the garden, inconsistent moisture can stress your plants to the point of failure. Aim for a steady, predictable rhythm.
- Don’t forget to “debug” your garden regularly. Spend a few minutes every day just looking at your leaves and stems. Catching a pest or a nutrient deficiency early is much easier than trying to run a system recovery once the whole garden has crashed!
- Upgrade your “system specs” with mulch. Adding a layer of organic mulch is like adding extra RAM to your setup—it optimizes everything by retaining moisture, regulating soil temperature, and suppressing those pesky “malware” weeds.
- Keep a “log file” of your progress. I swear by this! Jot down what thrived and what totally glitched out this season. Having that data is the ultimate way to iterate and build a much more stable, high-performance garden next year.
From Seedlings to Success: Your Garden's Grand Opening
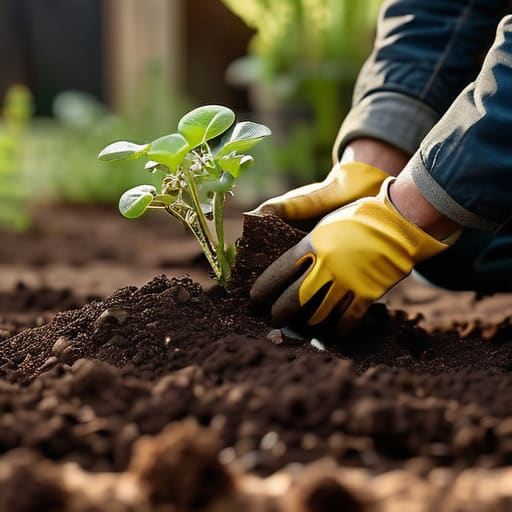
We’ve covered a lot of ground together, from the foundational “hardware” of prepping your soil to selecting the perfect “software” in the form of beginner-friendly vegetable varieties. Remember, just like when I’m troubleshooting a complex piece of code or soldering a new mechanical keyboard, the secret to success lies in the details. You’ve learned how to design your space for maximum efficiency and how to choose plants that are actually built to thrive in your specific environment. By getting your soil chemistry right and choosing resilient crops, you’ve essentially laid down a high-speed motherboard for your entire garden to run on.
As you head out to get your hands a little dirty, I want you to remember that gardening isn’t about achieving instant perfection; it’s about the joy of the process. There will be bugs, there might be a wilted leaf or two, but that’s just part of the debugging phase! Every tiny sprout that breaks through the earth is a small miracle of engineering that deserves your wonder. So, grab your trowel, embrace the trial and error, and most importantly, have fun building something living and beautiful. I can’t wait to hear how your first harvest turns out!